
This post will look better on a computer screen.
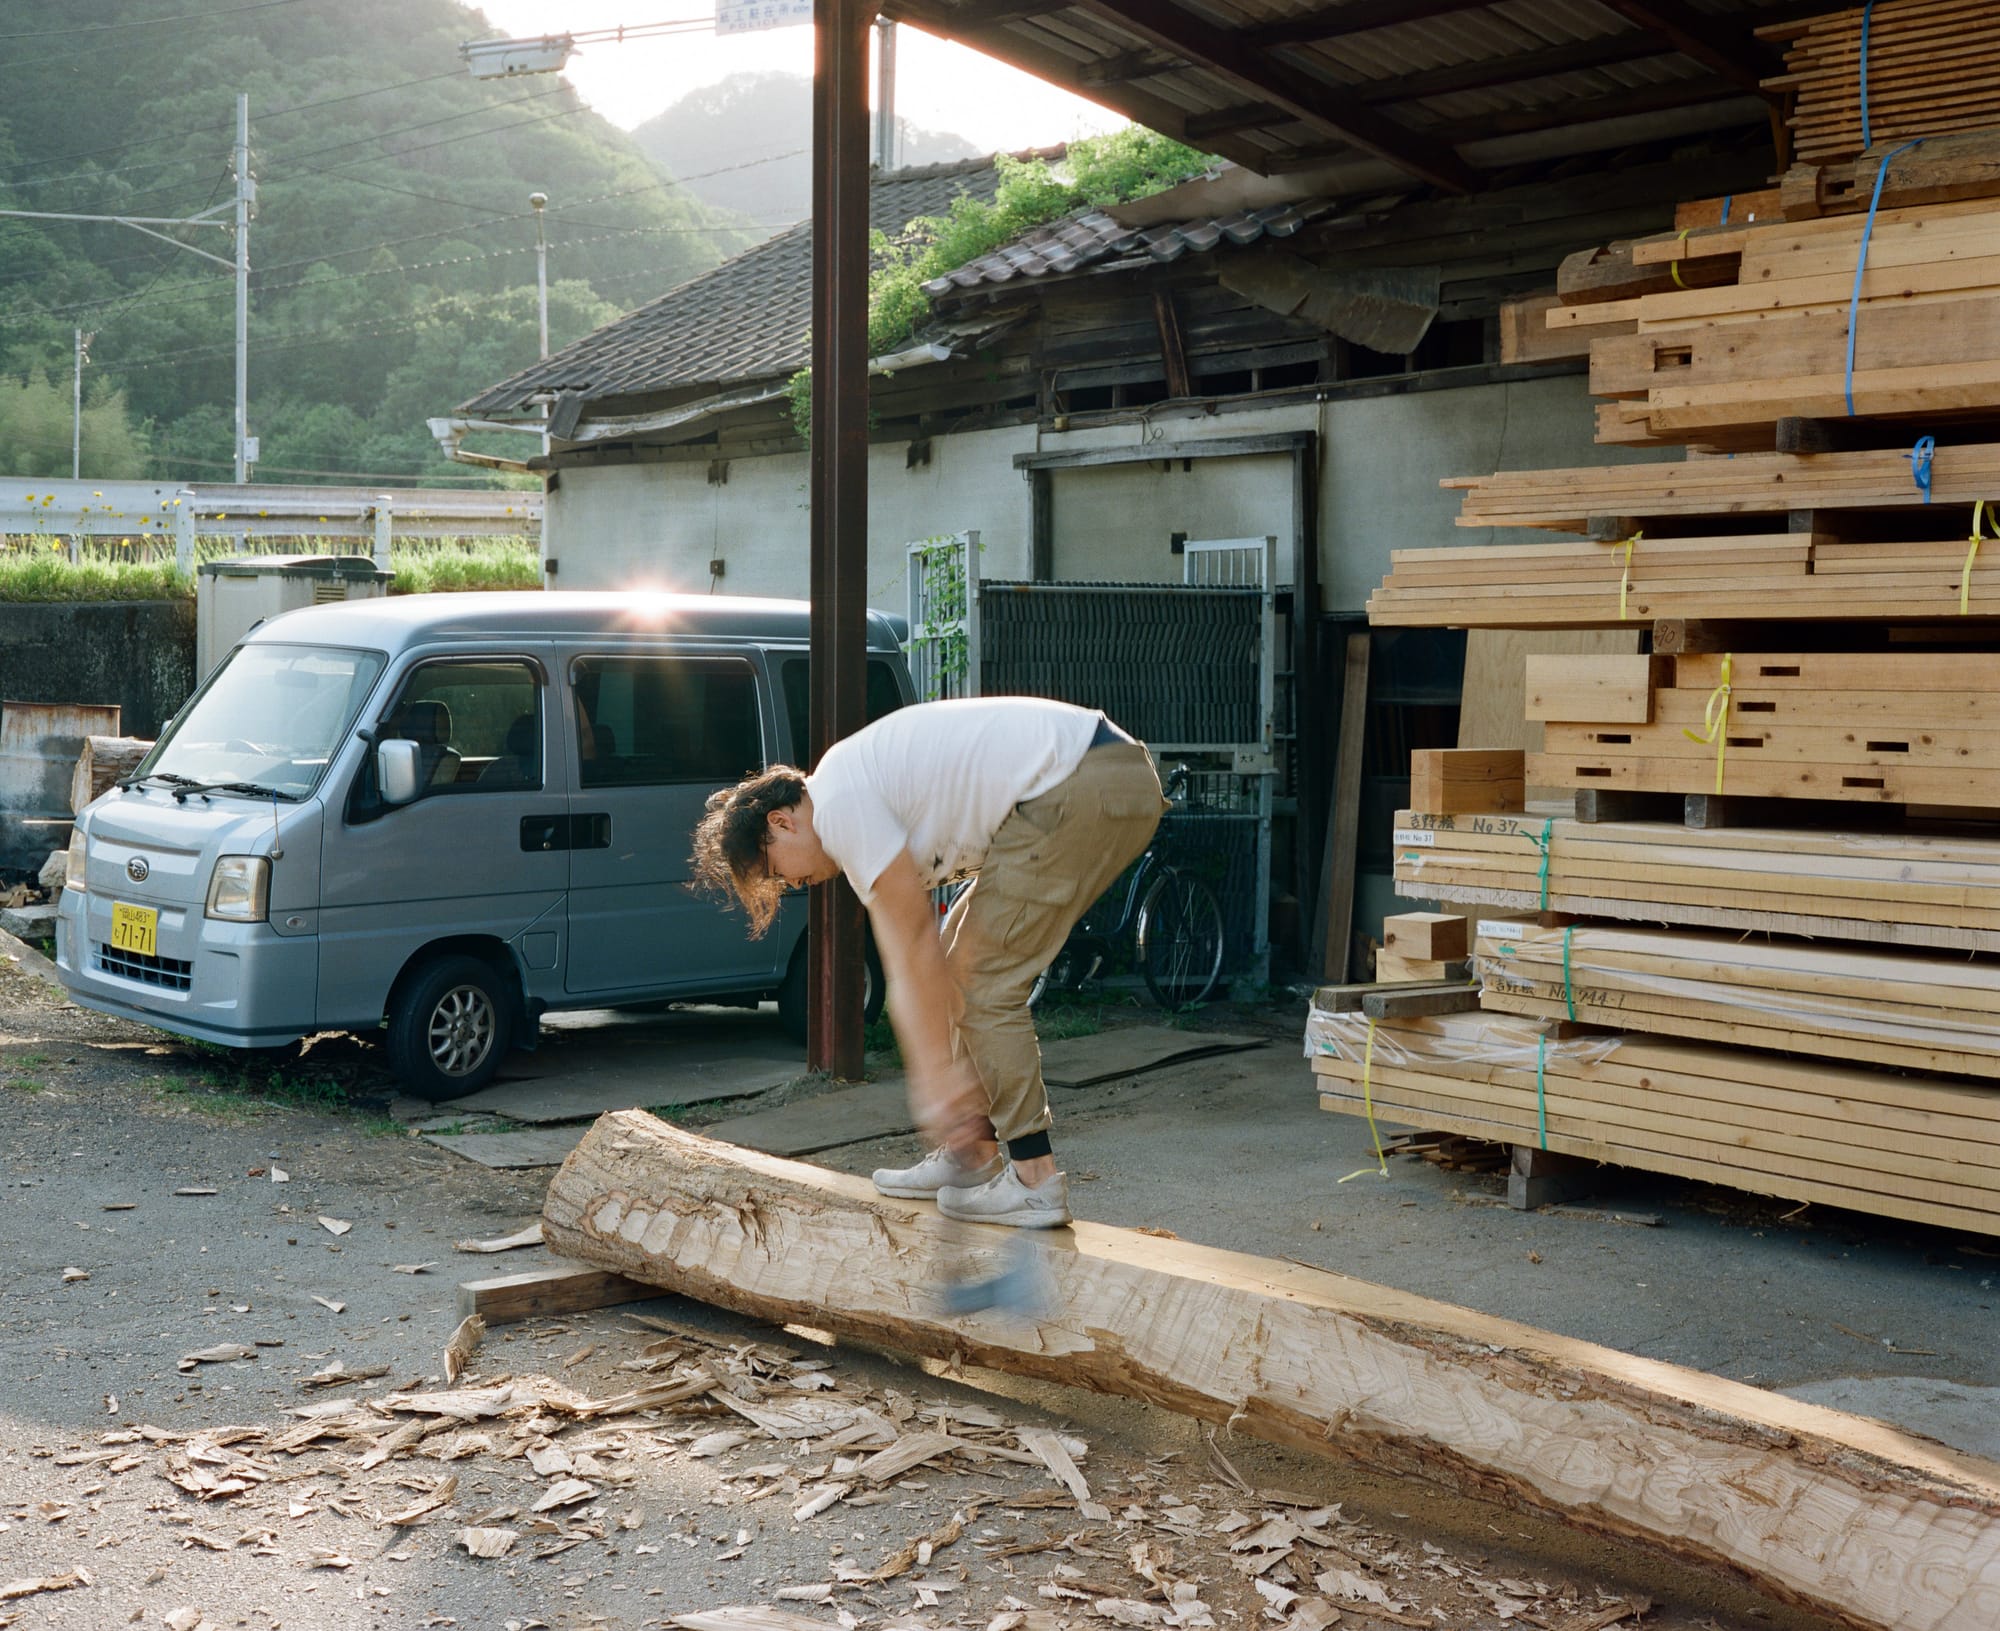
After studying at Mount Fuji with Togo and Tak San for a few weeks, I made my way to Okayama to visit Somakosha. Luggage limits were reached, with 85 kilos of cameras, tools and just a few pieces of work clothing.

The last time I was in the area, about 7 years ago, I was passing through by ferry to Naoshima. This time, I was in town for the first Somakosha Intermediate Japanese carpentry class with Jon Stollenmeyer and Kohei Yamamoto. This would be my first time studying with Japanese carpenters in Japan, and the second time with Somakosha.

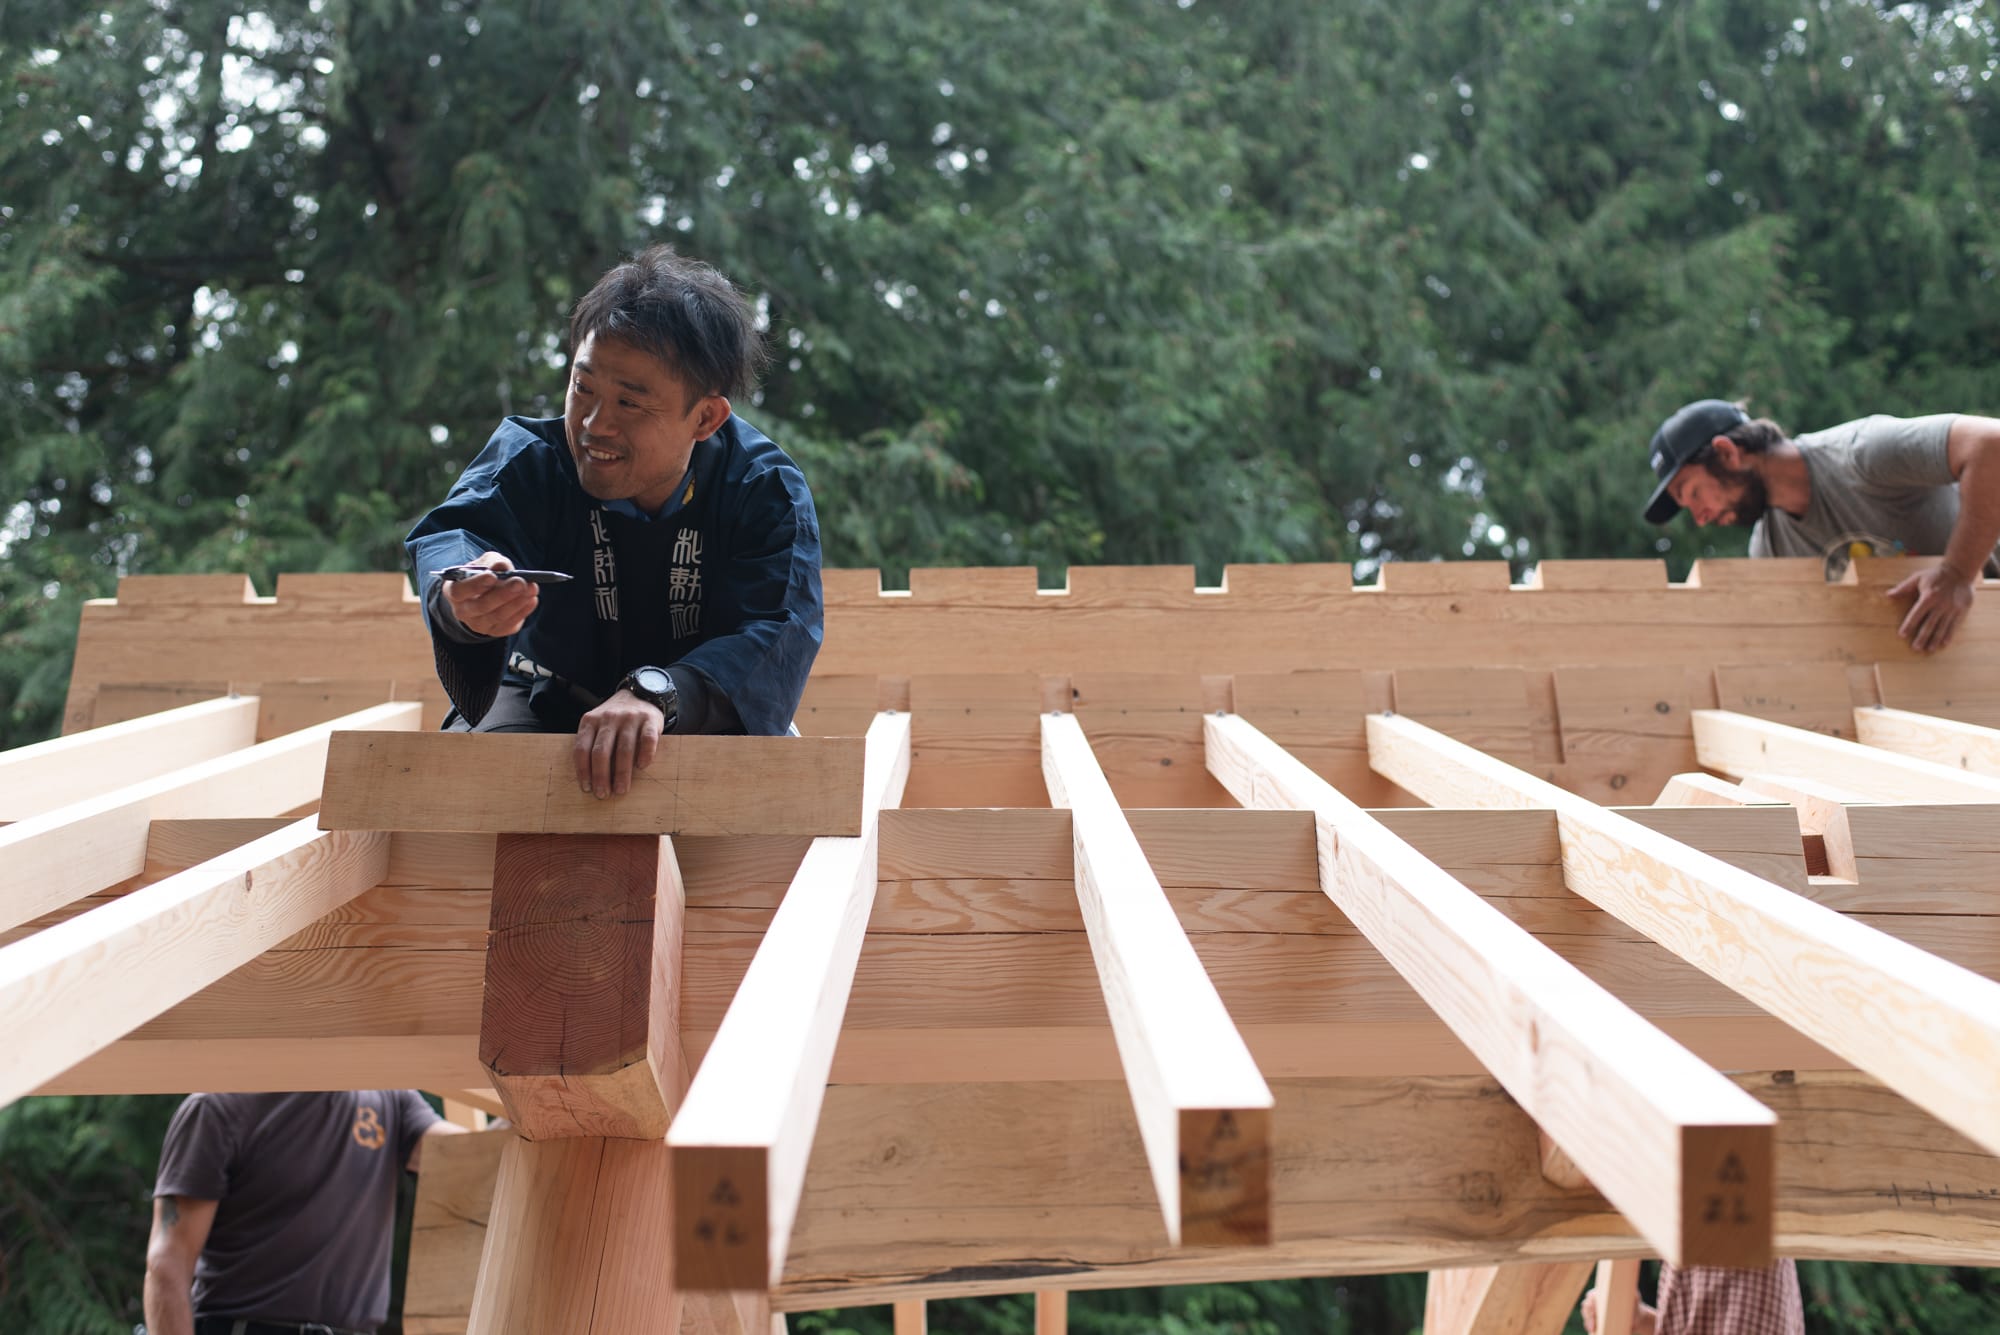
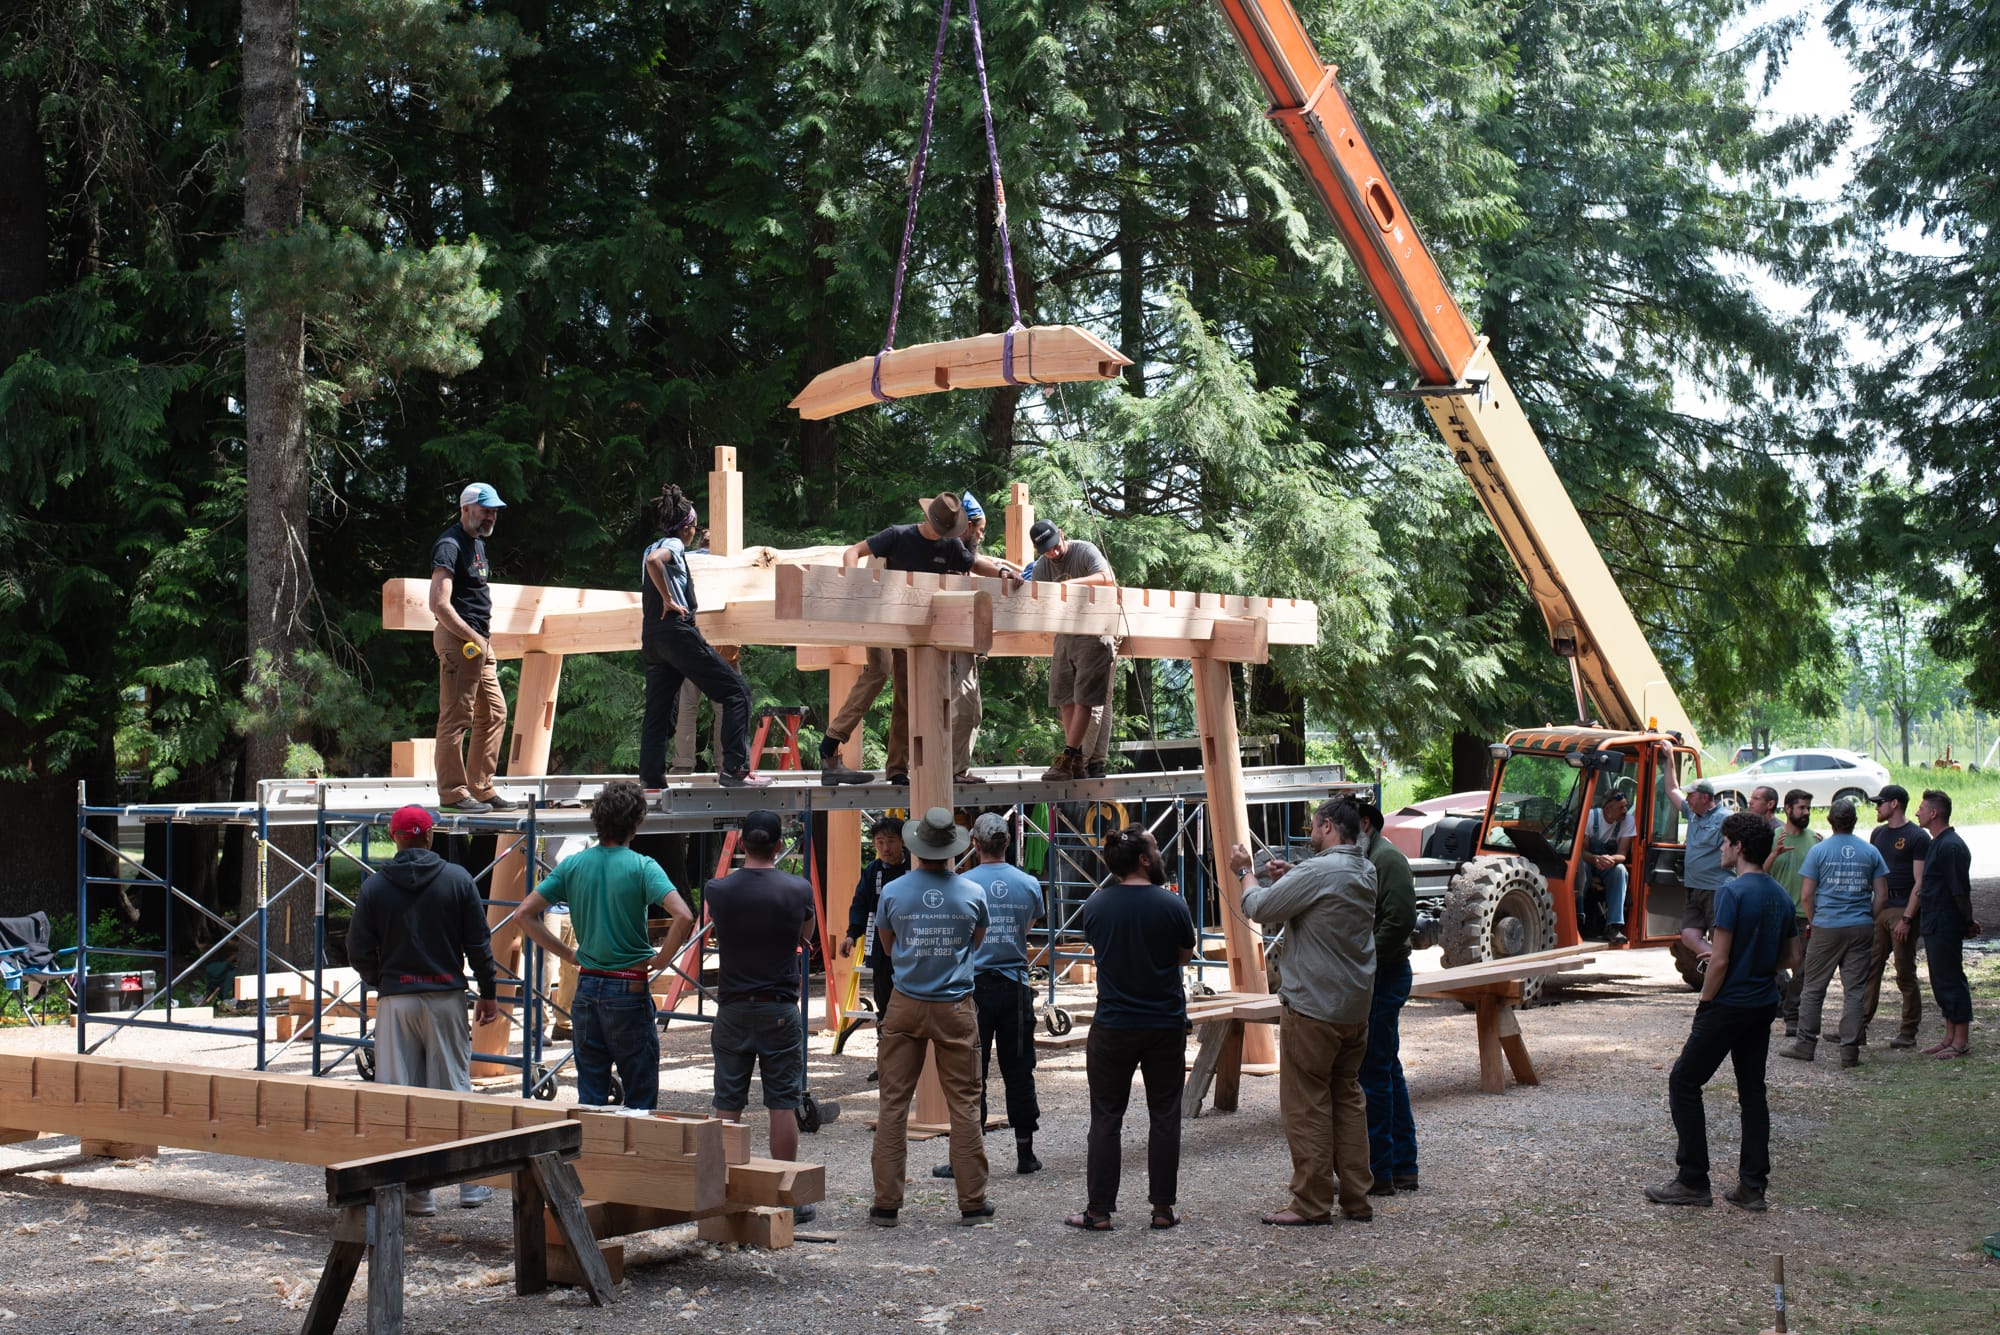
The first time I studied with Yama san was during a bell tower framing project in Sandpoint, Idaho, 2 years ago. The project was put on by Collin Beggs, and hosted by the Timber Framers Guild. The building was made for a park in the area. The class was taught by Yama san and Yann Giguere from Mokuchi, my first and long-time teacher.
The student body for the Idaho program was about 25 people, and it sold out before it even went public. (I found out about it early from a secret tool dealer who also traffics in gossip.) This was one of the first structural programs in the US with instruction from Japan, post COVID. There were a handful of hobbyists with some training and tools. And about 20 professional western framers from Collin’s shop nearby, as well as some from further away like Jordan Finch, who travelled to the workshop with his son from West Virginia.
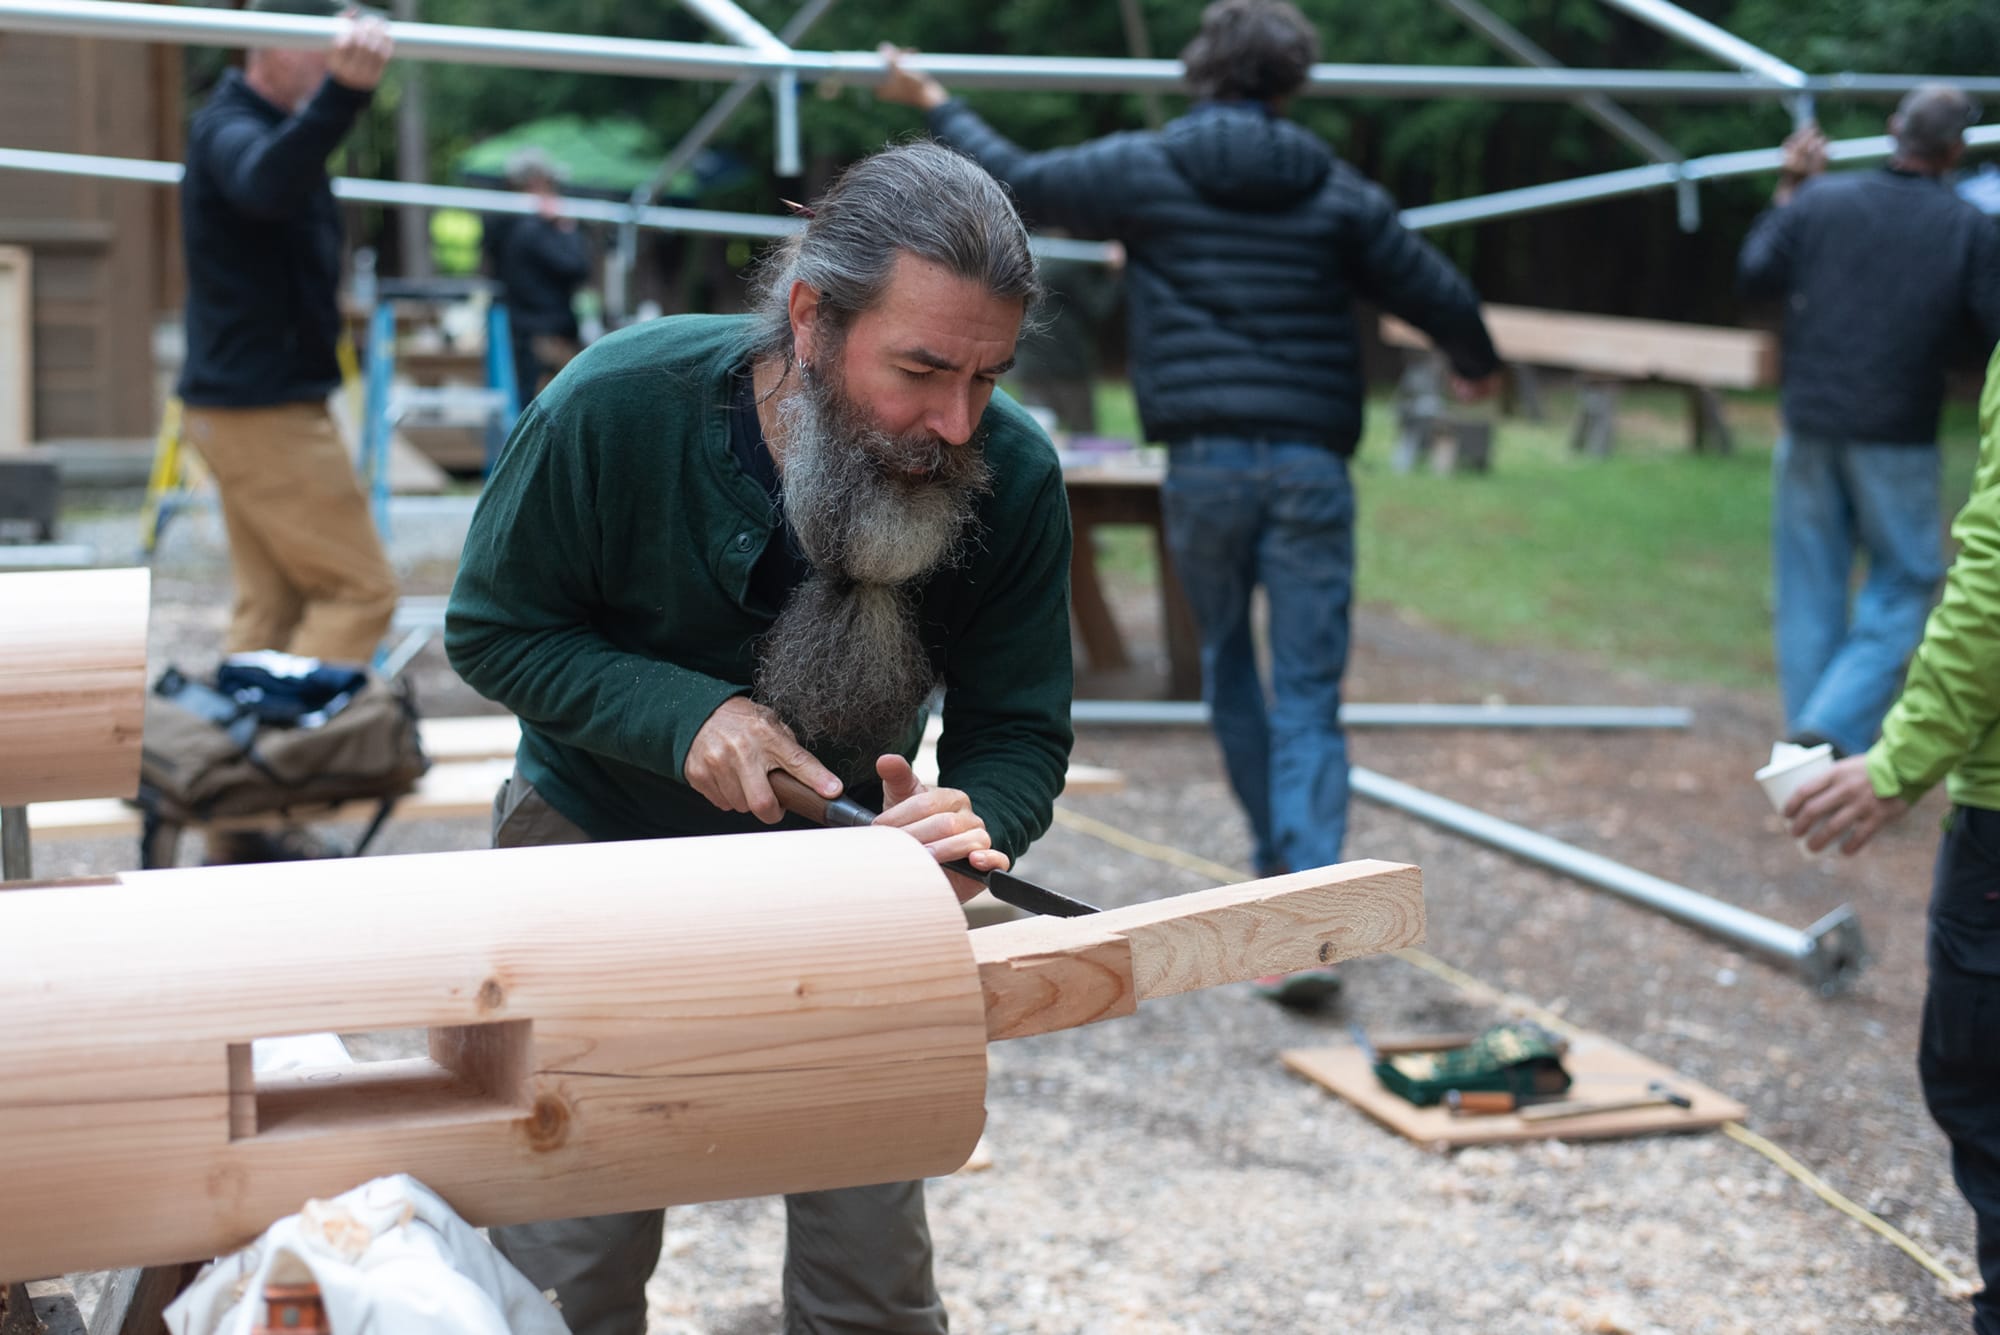
The Idaho frame design was ambitious for a student project. The structure was built upon four canted posts we would round by hand, and a curved roof. At the last minute, the frame was improved with a scribed oak beam. The class was two weeks long. Through some logistical confusion, the majority of students brought zero japanese tools or stones. So a last minute run to Woodcraft a few hours away was necessary. Because no other students had planes set up, I got to plane the frame by myself for a few days. It was my first construction project, and I made many mistakes, and was slow. All that theory rattling around your head falls apart when its time to work big posts and beams with hand tools, and your plane is hitting the high points on a roughly sawn beam in a rain storm. Here, only experience will amount to anything. And if you don't have any, well, you find out what that is worth, too, very quickly.
The worst and first mistake I made was overcutting the ridge beam with a floppy 300mm saw that I was warned would wander badly if we lost focus. I lost focus. And the far end of the saw drifted a cm into the beam.
This was the incident that helped me understand that my high energy and enthusiasm could cause problems at the start of a project. Sawing like a maniac is never a good idea unless it is a rough cut, and then, it’s better to use a power tool. The look on my teacher's face when I showed him my mistake, I will never forget. The only good part about this mistake was that other students were able to learn from it, and no one duplicated my error. It’s the kind of mistake you carry with you as a tool to stay in the right mental zone, but hopefully not so much so that it itself becomes a distraction. I was given the task of cleaning up my error with a small hand plane.
This was also my first chance to build under consequence, where my mistakes would affect others. I mark this structure as the beginning of my long, slow climb out of what some teachers refer to as chit-chat internet woodworking. Chit-chat Internet woodworkers are filled with theory and spend more time debating tool smiths in Facebook groups rather than making things. Since we don’t know what we don’t know, there is an underestimation of the total possible body of knowledge. By proportion, there is an overestimation of our position in that body. (See: Dunning-Kruger effect).
But the majority of the Idaho students were professionals, regardless of the culture they came from. The frame was only possible because a good timber framing pro from the West can learn how to use Japanese hand tools pretty quickly. And then all the instincts around how wood acts and is worked come into play. I remember seeing all these burly timber framers standing in a circle, reciting poetry before we got to work, the dappled sun falling across their beards and overalls through the cedar grove.
Always nervous around real professionals, I remember sharpening in front of Yama-san, who I think was just starting to be exposed to hobbyists. I was sharpening a tataki that had a rounded bevel and starting slow. Yama exclaimed, “You better sharpen faster and practice more!” almost involuntarily. He seemed as surprised as I was that he said it. I responded weakly, “I practice a lot, but I’m still not very good! Thank you for the advice.” It stung, to be honest, but it was true.
This direct feedback was also the most potent fuel. I was able to metabolize this single phrase over the years to motivate my practice. Another side effect of this feedback is that no judgement about my work ever stung again—a true superpower when it comes to learning, and all too rare.
He also showed me the way that Somakosha sharpens, for the first time. This method is currently at the core of my process. Jon Billing, who had worked there for several years before refocusing on furniture, detailed a prior version of what they practice now. This set of articles details the style of that time, which is close enough to their modern style. (1, 2, 3, 4, 5, 6, 7)
I don't exactly copy their sharpening method; Not that I’ve found something better, but that I want to keep exploring and experimenting so I always sharpen a bit differently, depending on both context and my mood. After a while, all the sharpening becomes something like jazz, anyhow.
That trip, Yama san was also handing out flyers announcing that Somakosha would open a school.
I emailed every year to ask if the school was opening. When it finally did, 3 years later, I signed up for 3 classes—intermediate in April; then advanced, and door making, which take place in June and July.
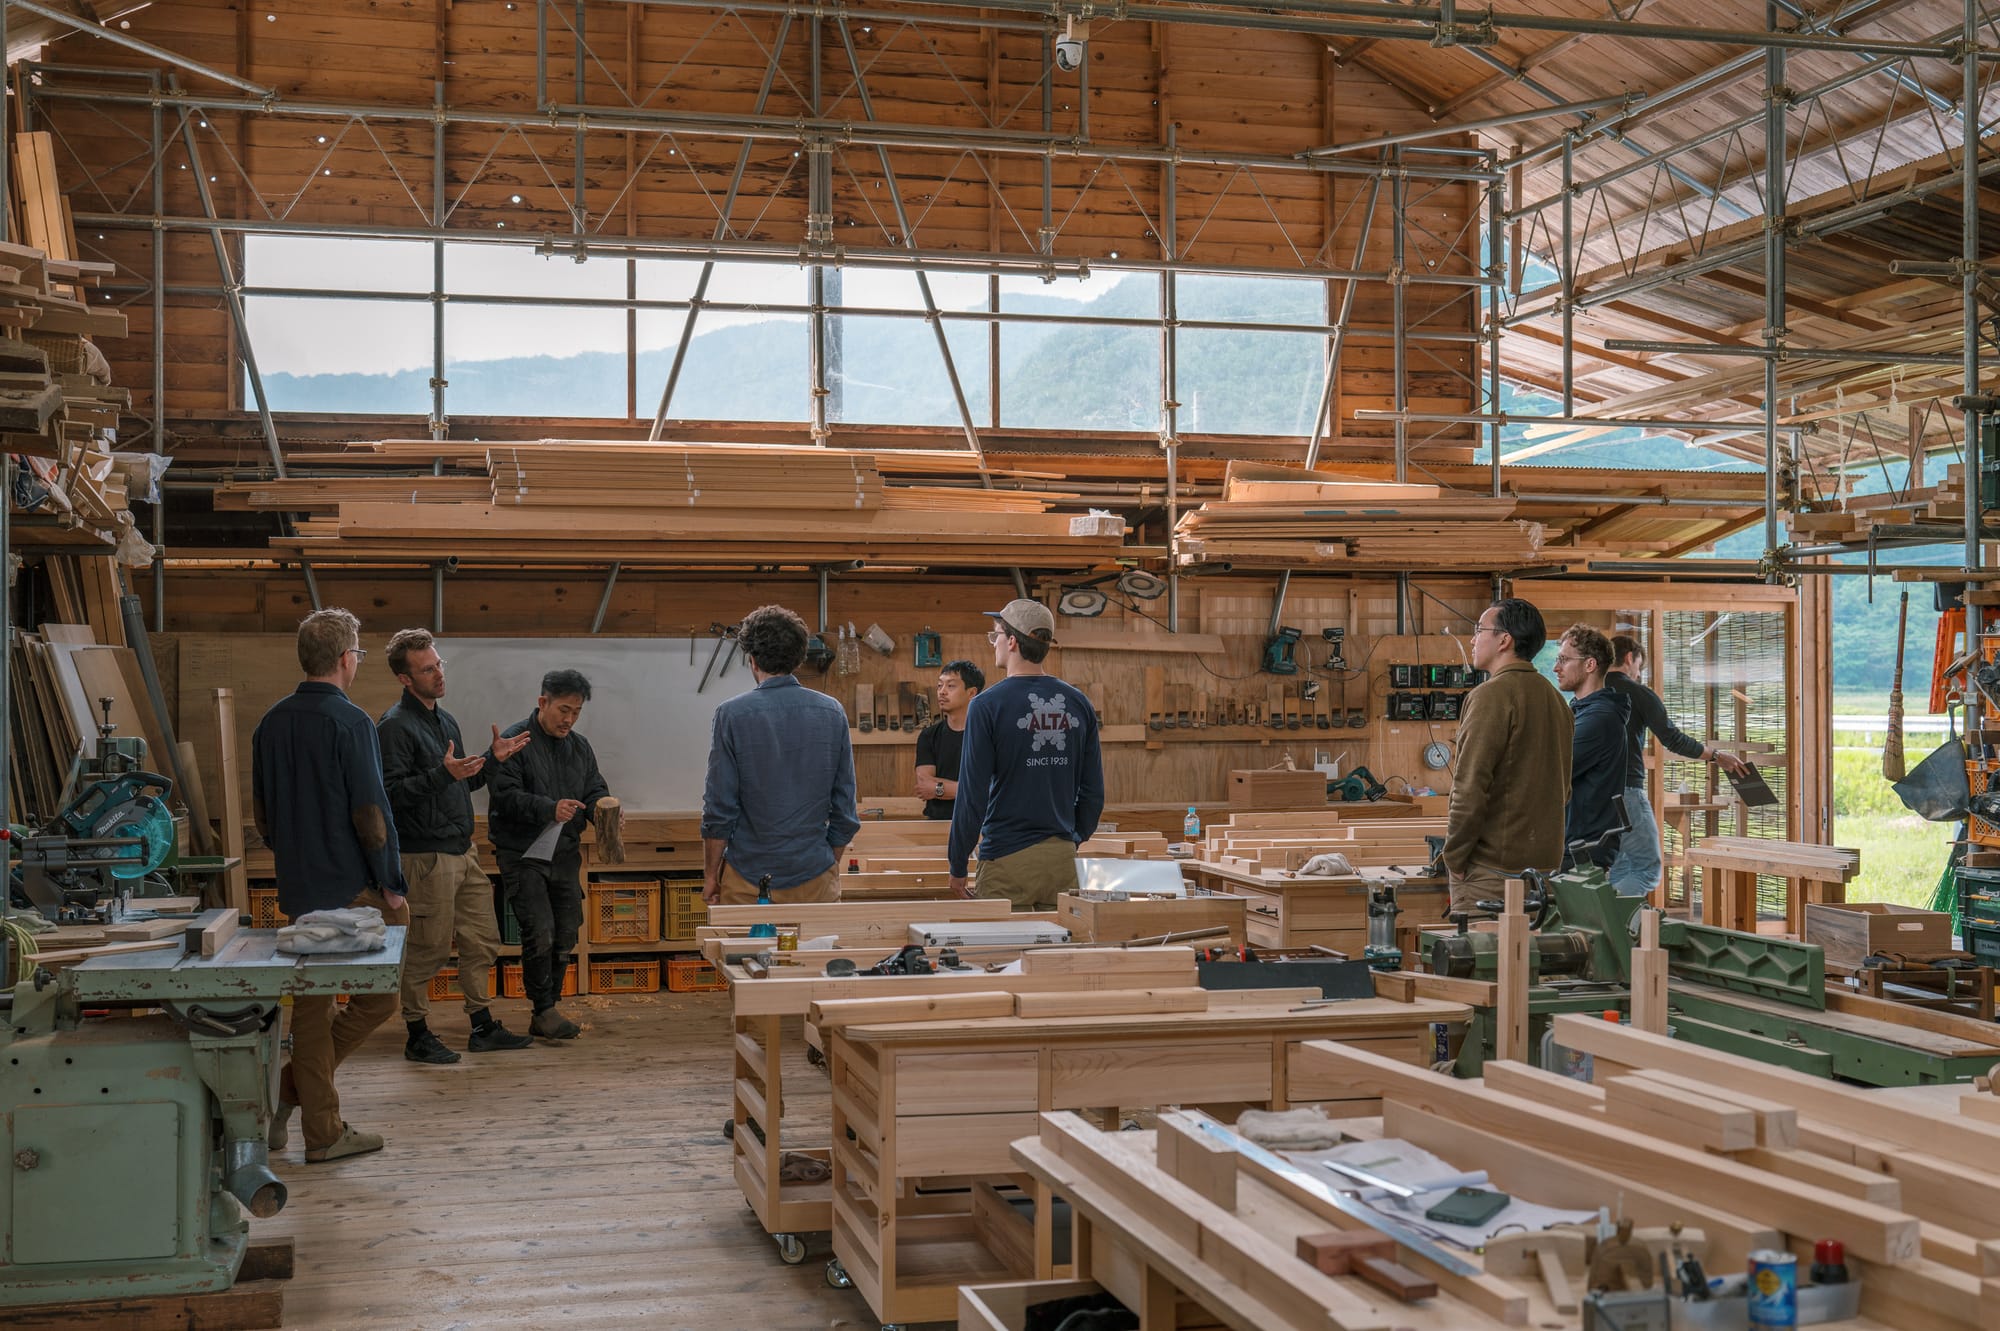
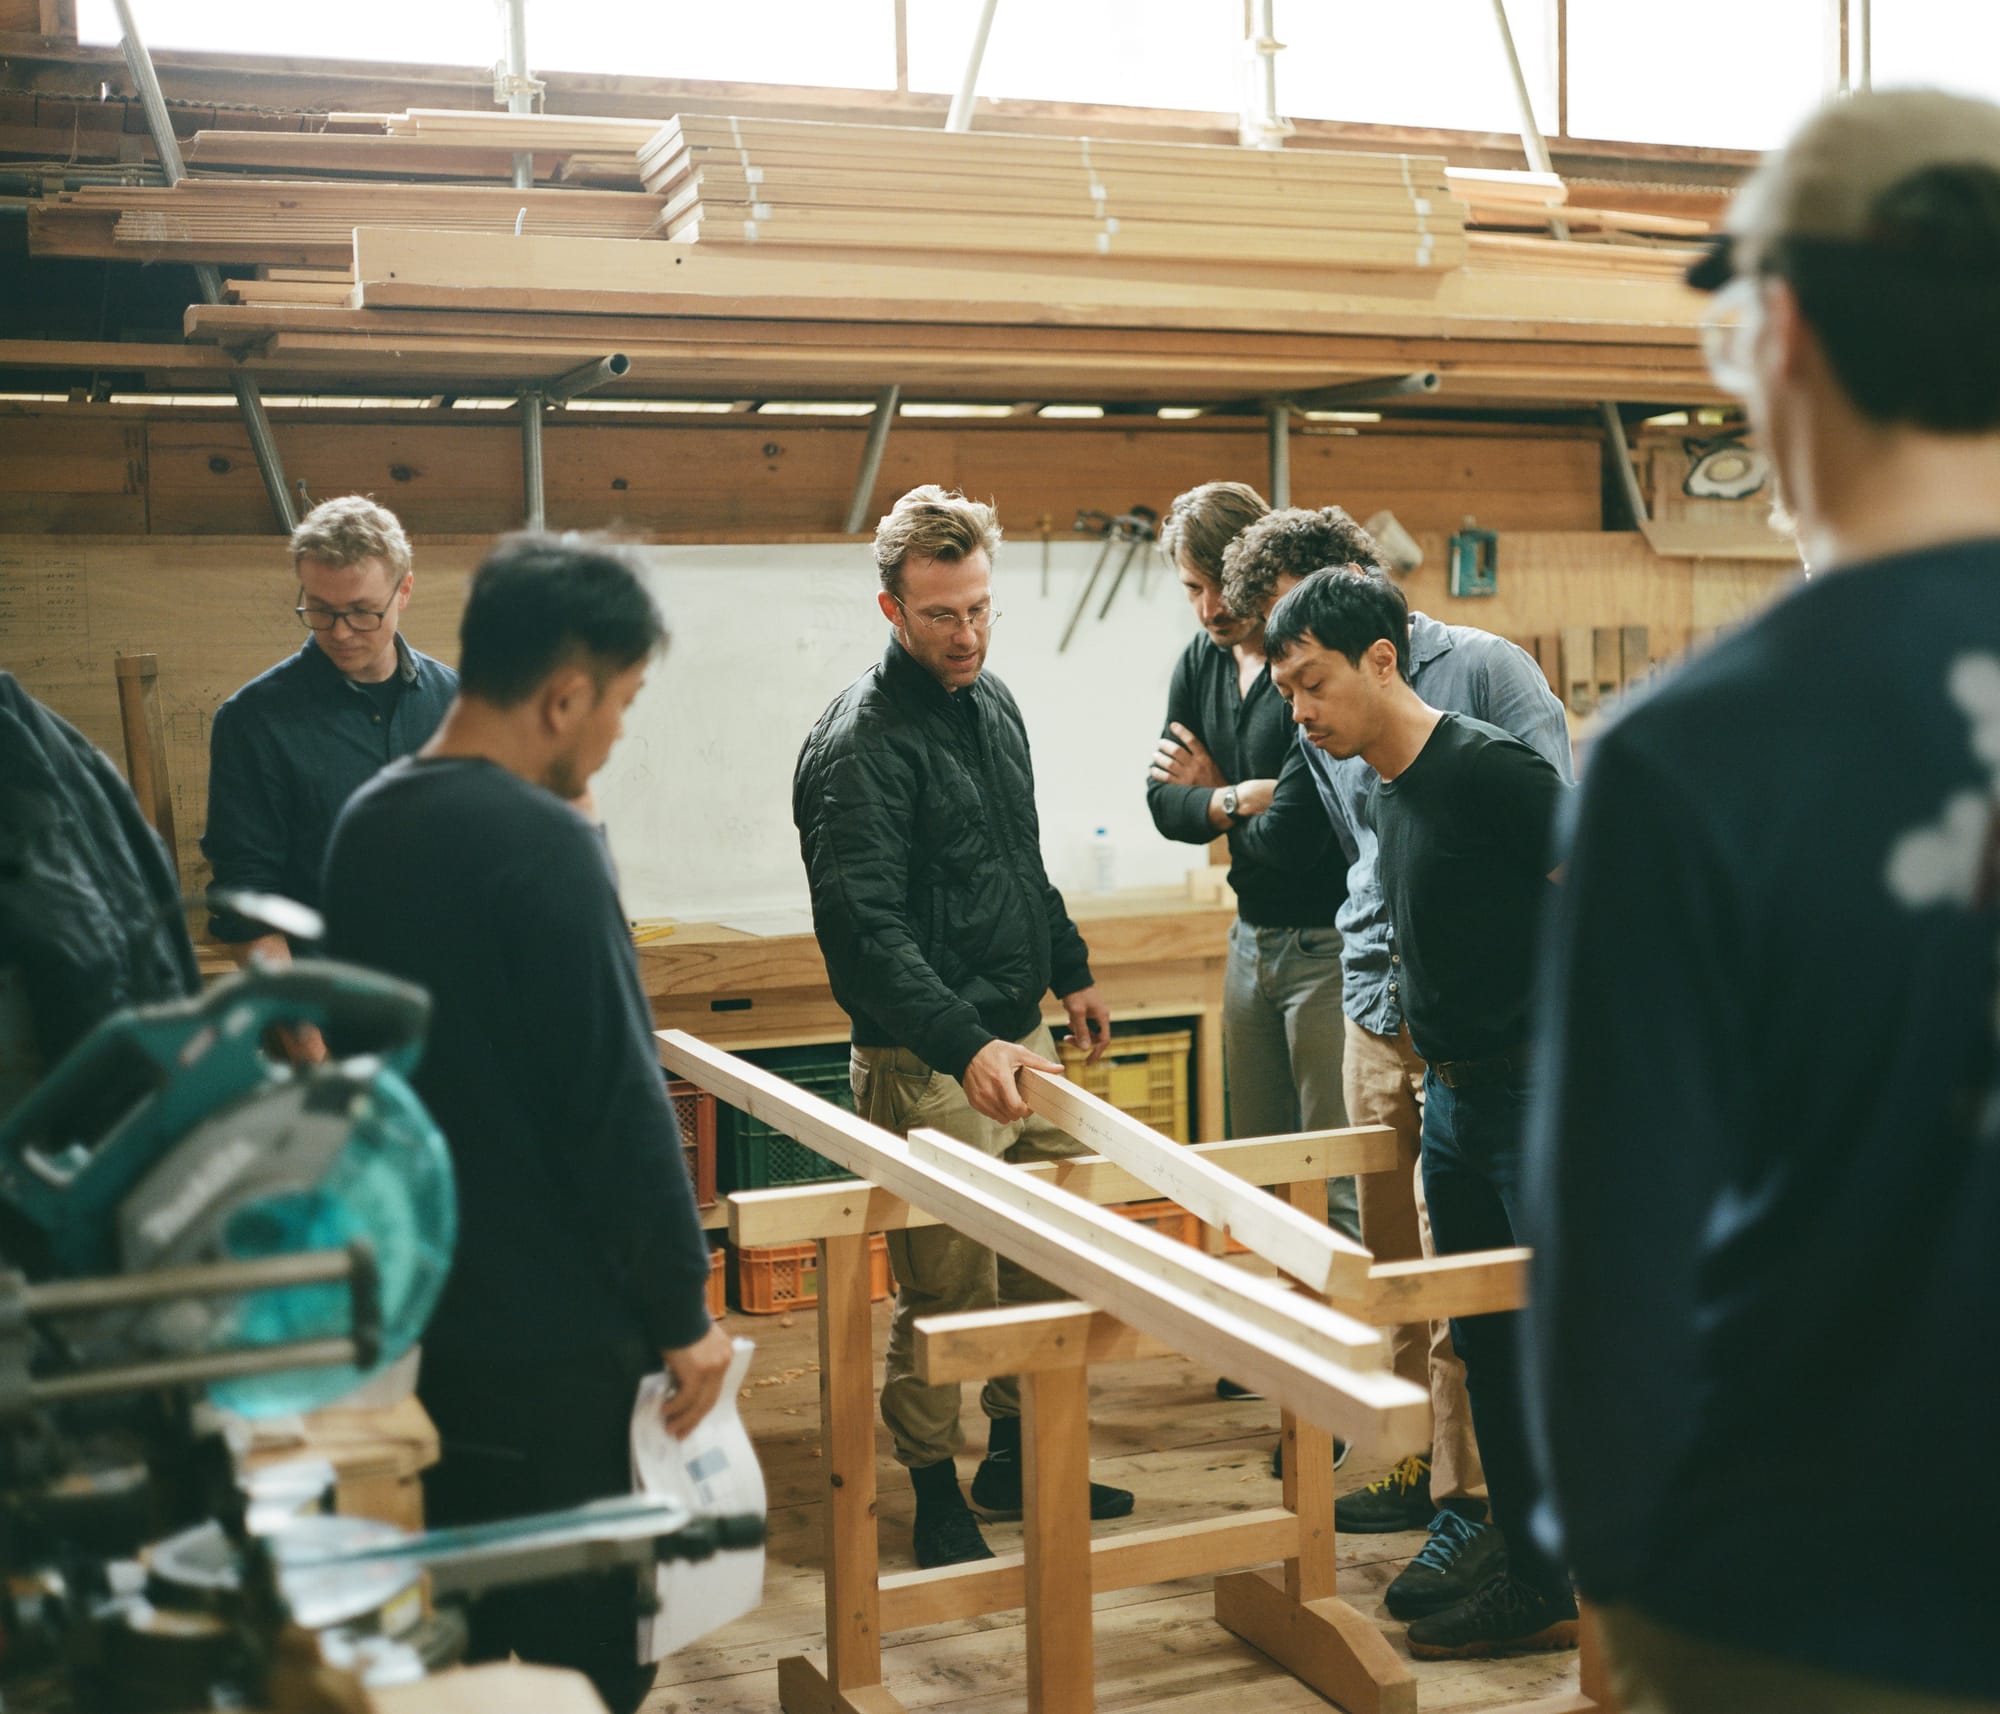
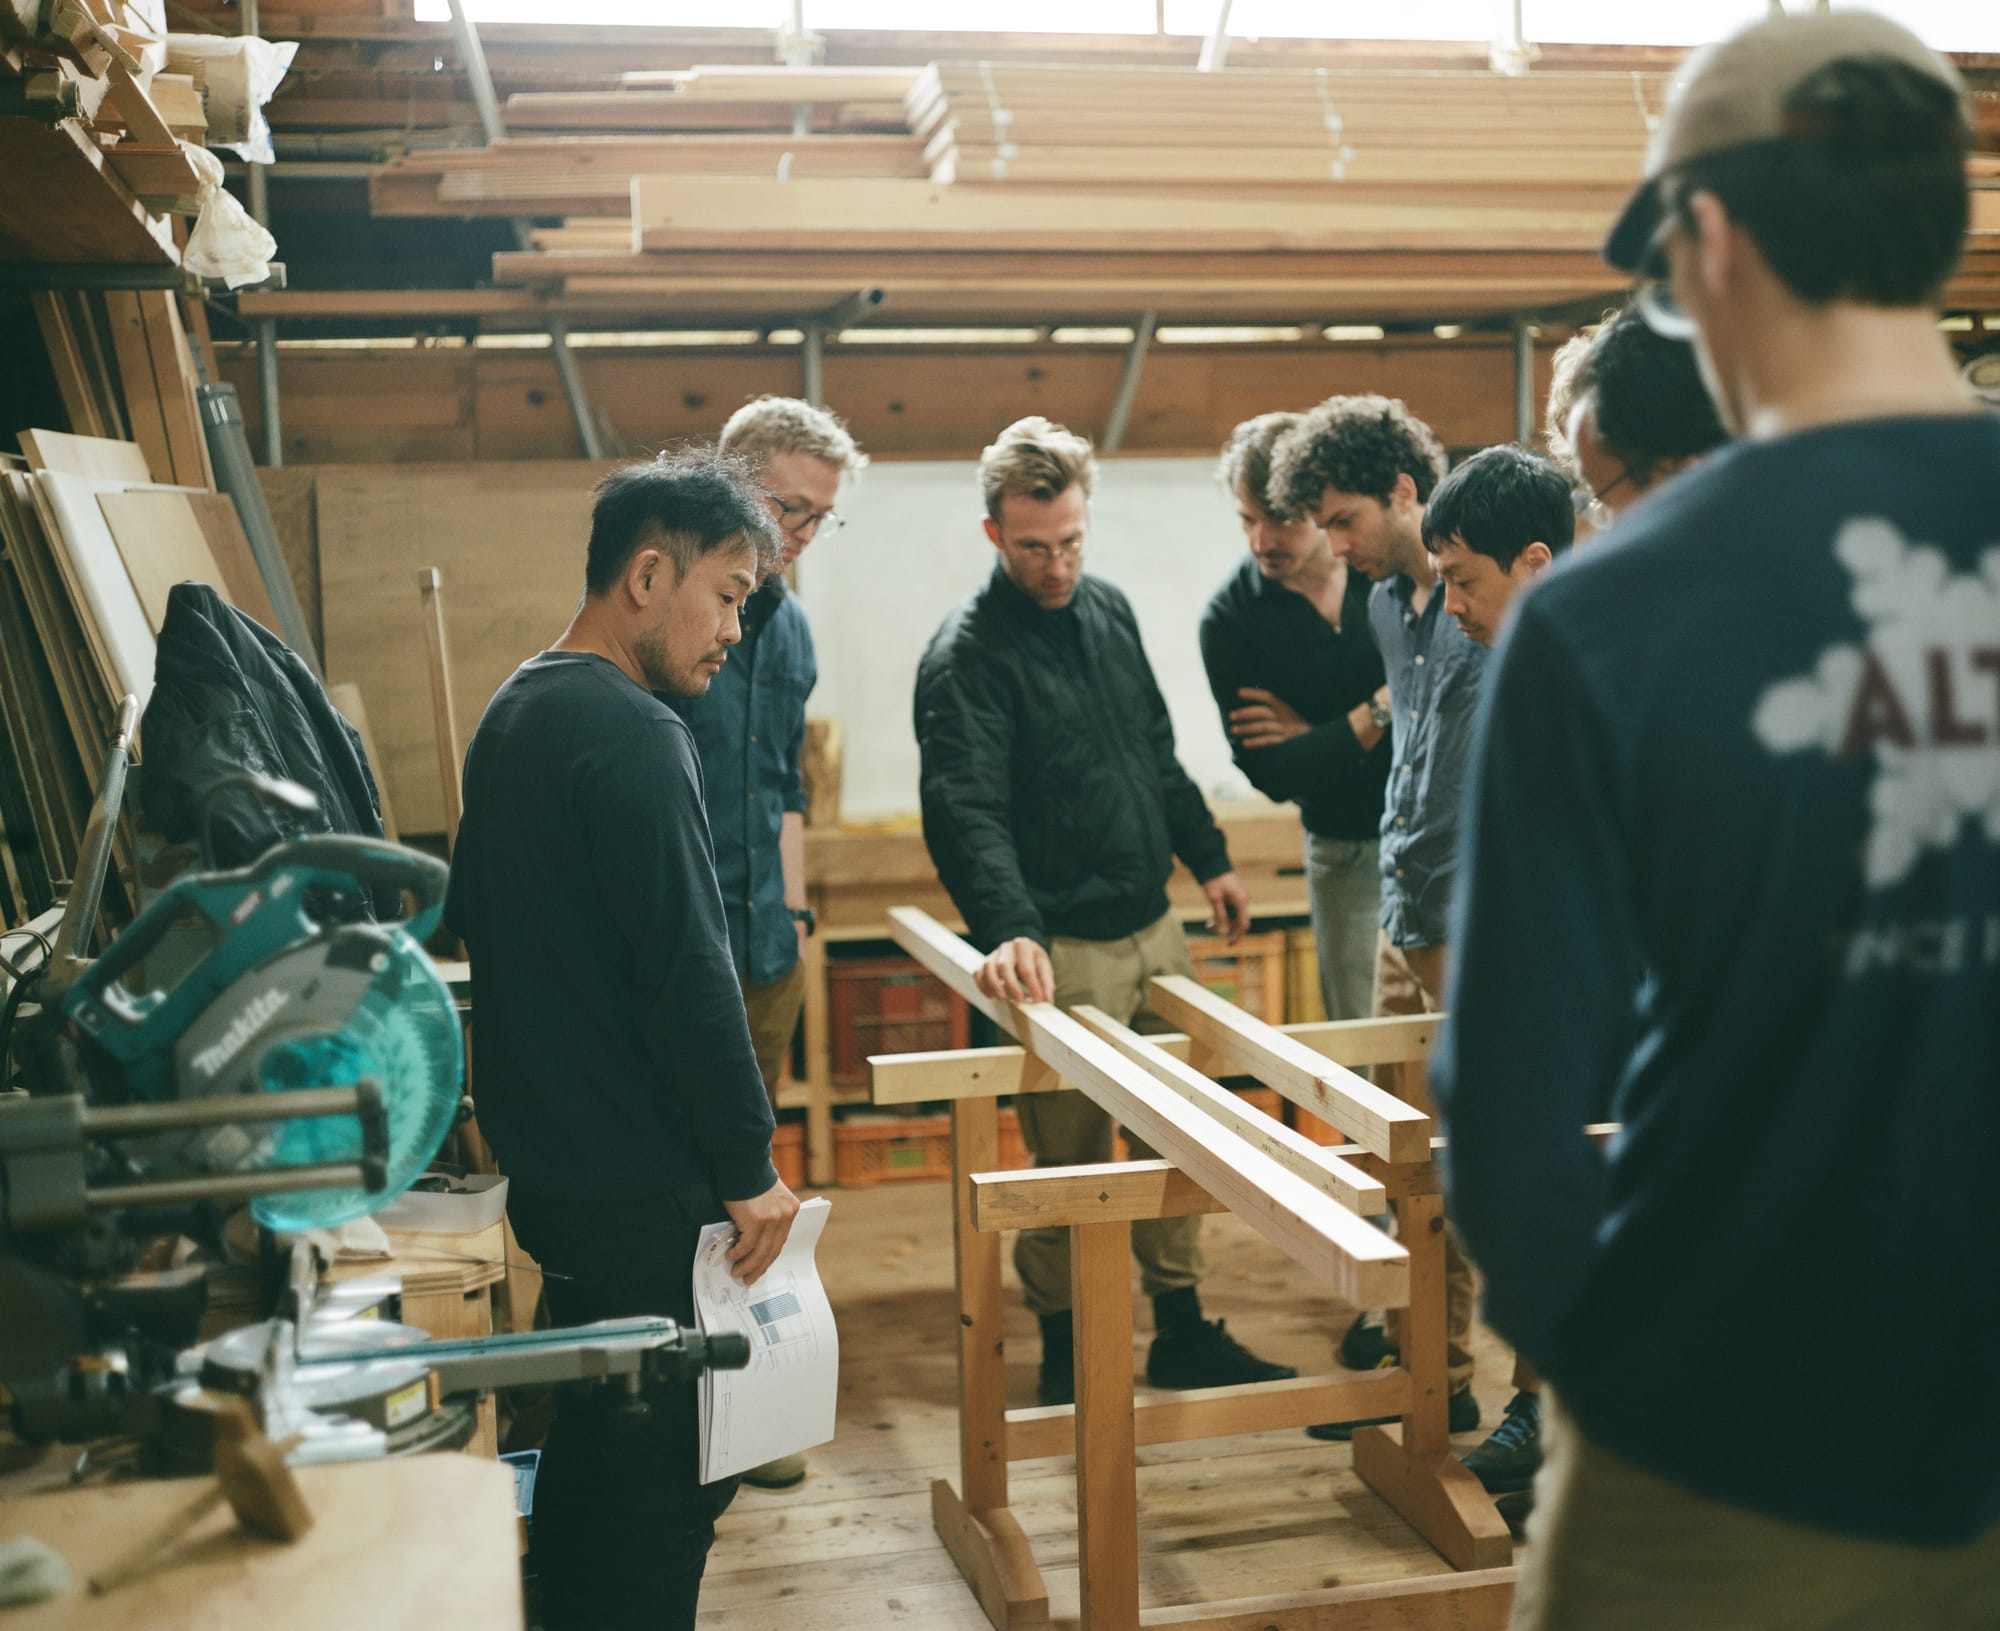
Walking into the workshop for the first time felt like a kind of strange homecoming. The shop is built around scaffold framing, with air and light flowing freely through openings in the wood panels. It is organized, beautiful, and dynamic. Secondary roofs jut out through open spaces in the walls, and lumber is stored everywhere that tools aren’t. Some small cubbies exist for apprentices to rest in, and there's a small kitchen, table, and office for design and lunchtime or meetings. It sits at a crossroads in the country, with a small set of vending machines and a cafe within a short walk.
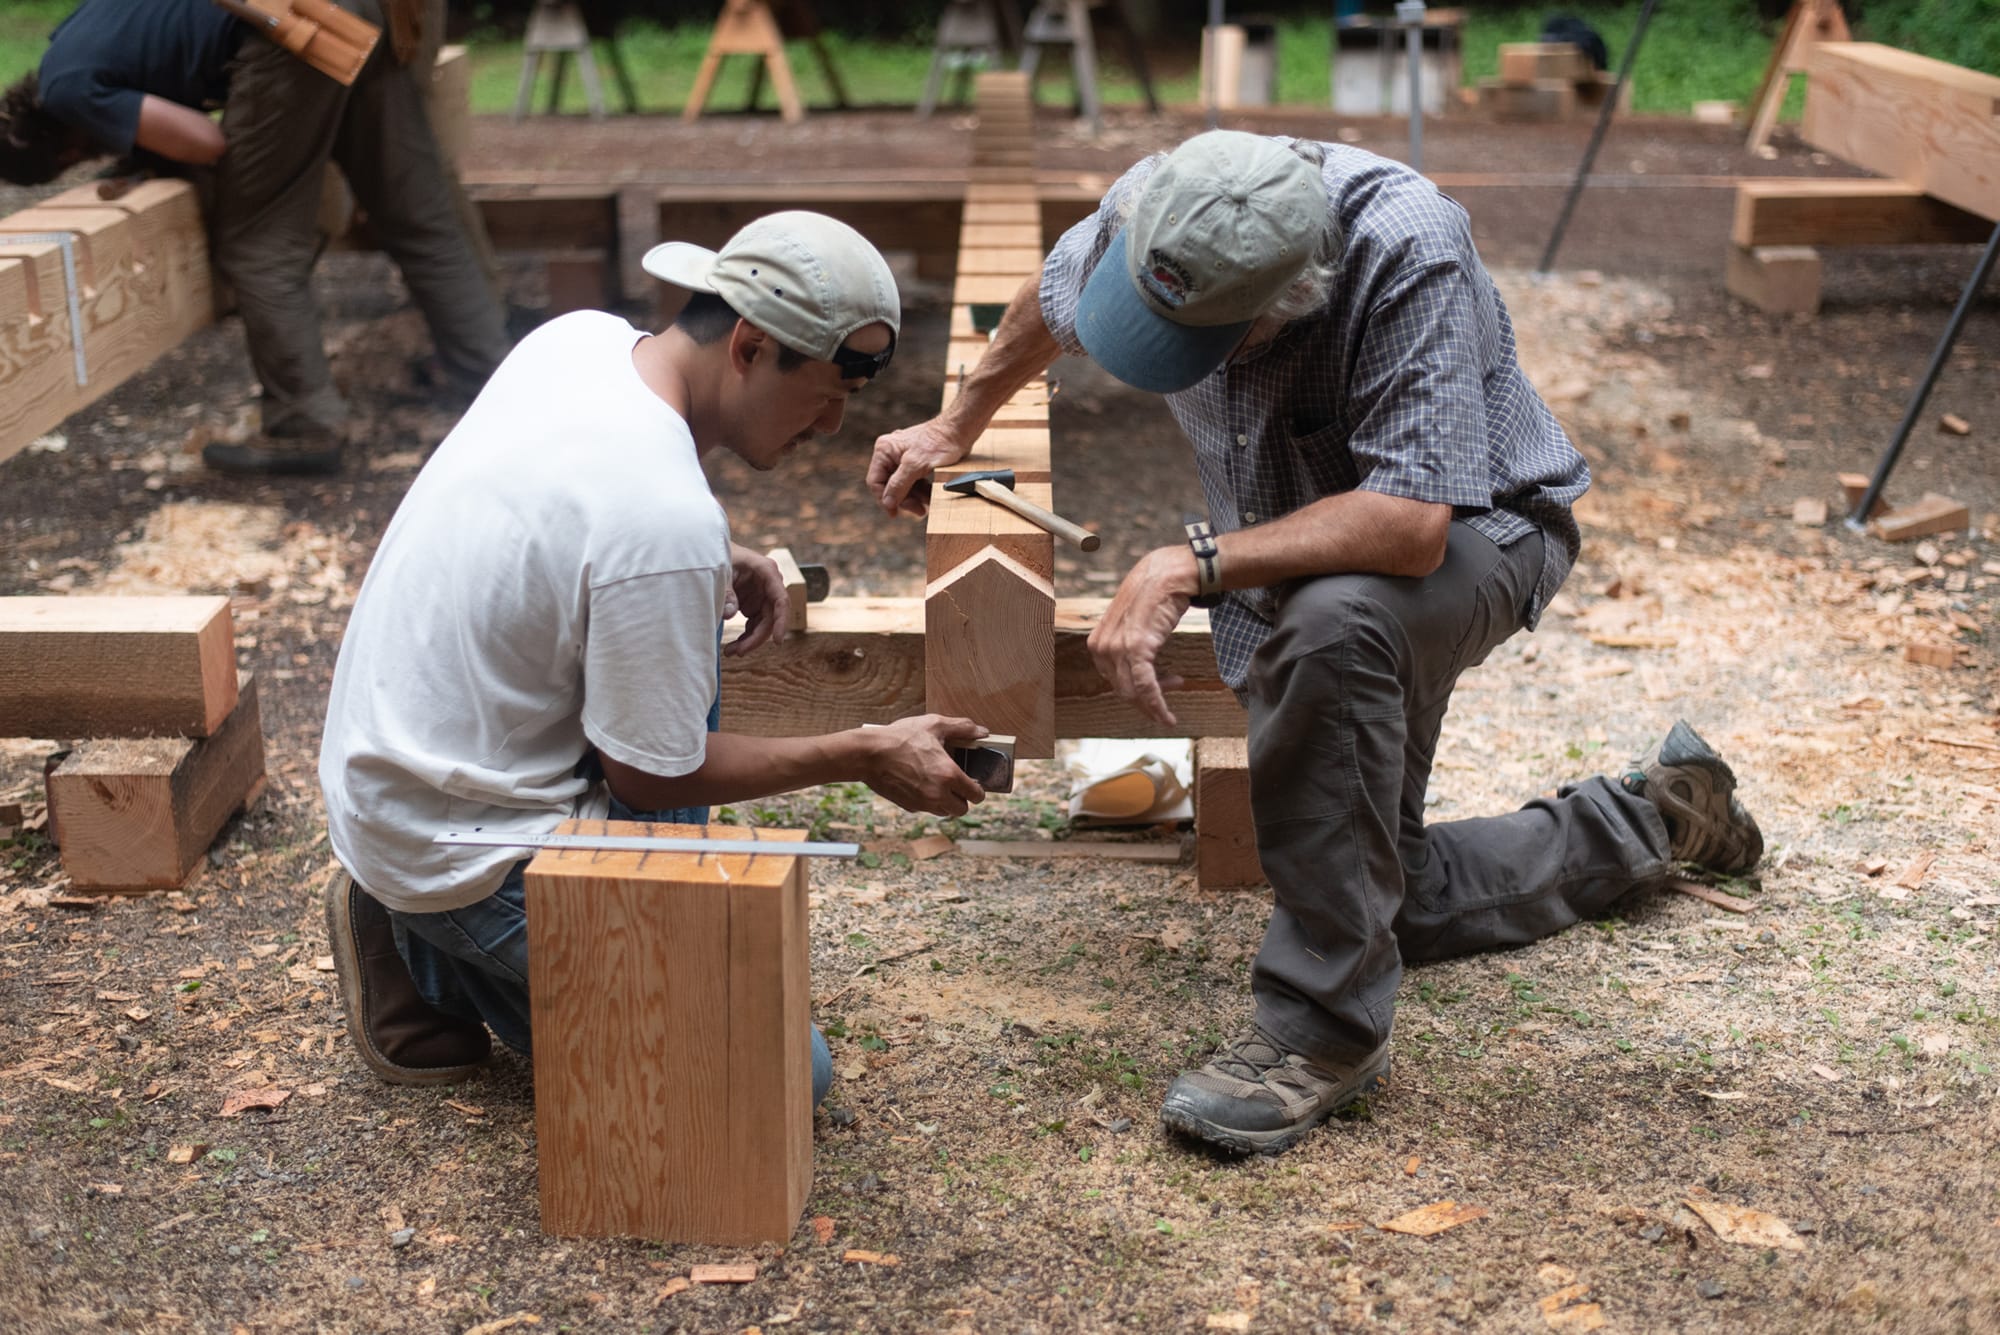
The project the class was built around is a small section of a wall, from the ground to the roof, comprised of various joints, including mortise and tenon, shachi with a floating tenon, dovetails, and, if a student opted in, a scribed post and beam. This class structure has evolved over the years, first taught at The Year of Mud, Ziggy’s well-loved Japanese carpentry program in Kentucky.
Yama-san and Jon are a dynamic teaching team. Often, Yama would quietly observe and set the example with a demonstration, while Jon would narrate energetically and eloquently.
The rest of the team at Somakosha had something in common: a strangely large heart for this work, often finding themselves working here against some odds. Ken san, a cheery man who we could hear laughing or whistling through the day, had just come back from working for ages on a castle in Okinawa; Clark had dropped out of Yale architecture grad school to apprentice; Yoko san who had fought her way into carpentry as a woman in Japan; Shinwa, injured his hand in the jointer the first month on the job; and Lee, the contractor and designer who left his practice in Singapore to apprentice at Somakosha and start the school program. In the past, and now, Somakosha seems to be more open to foreign apprentices than other firms.
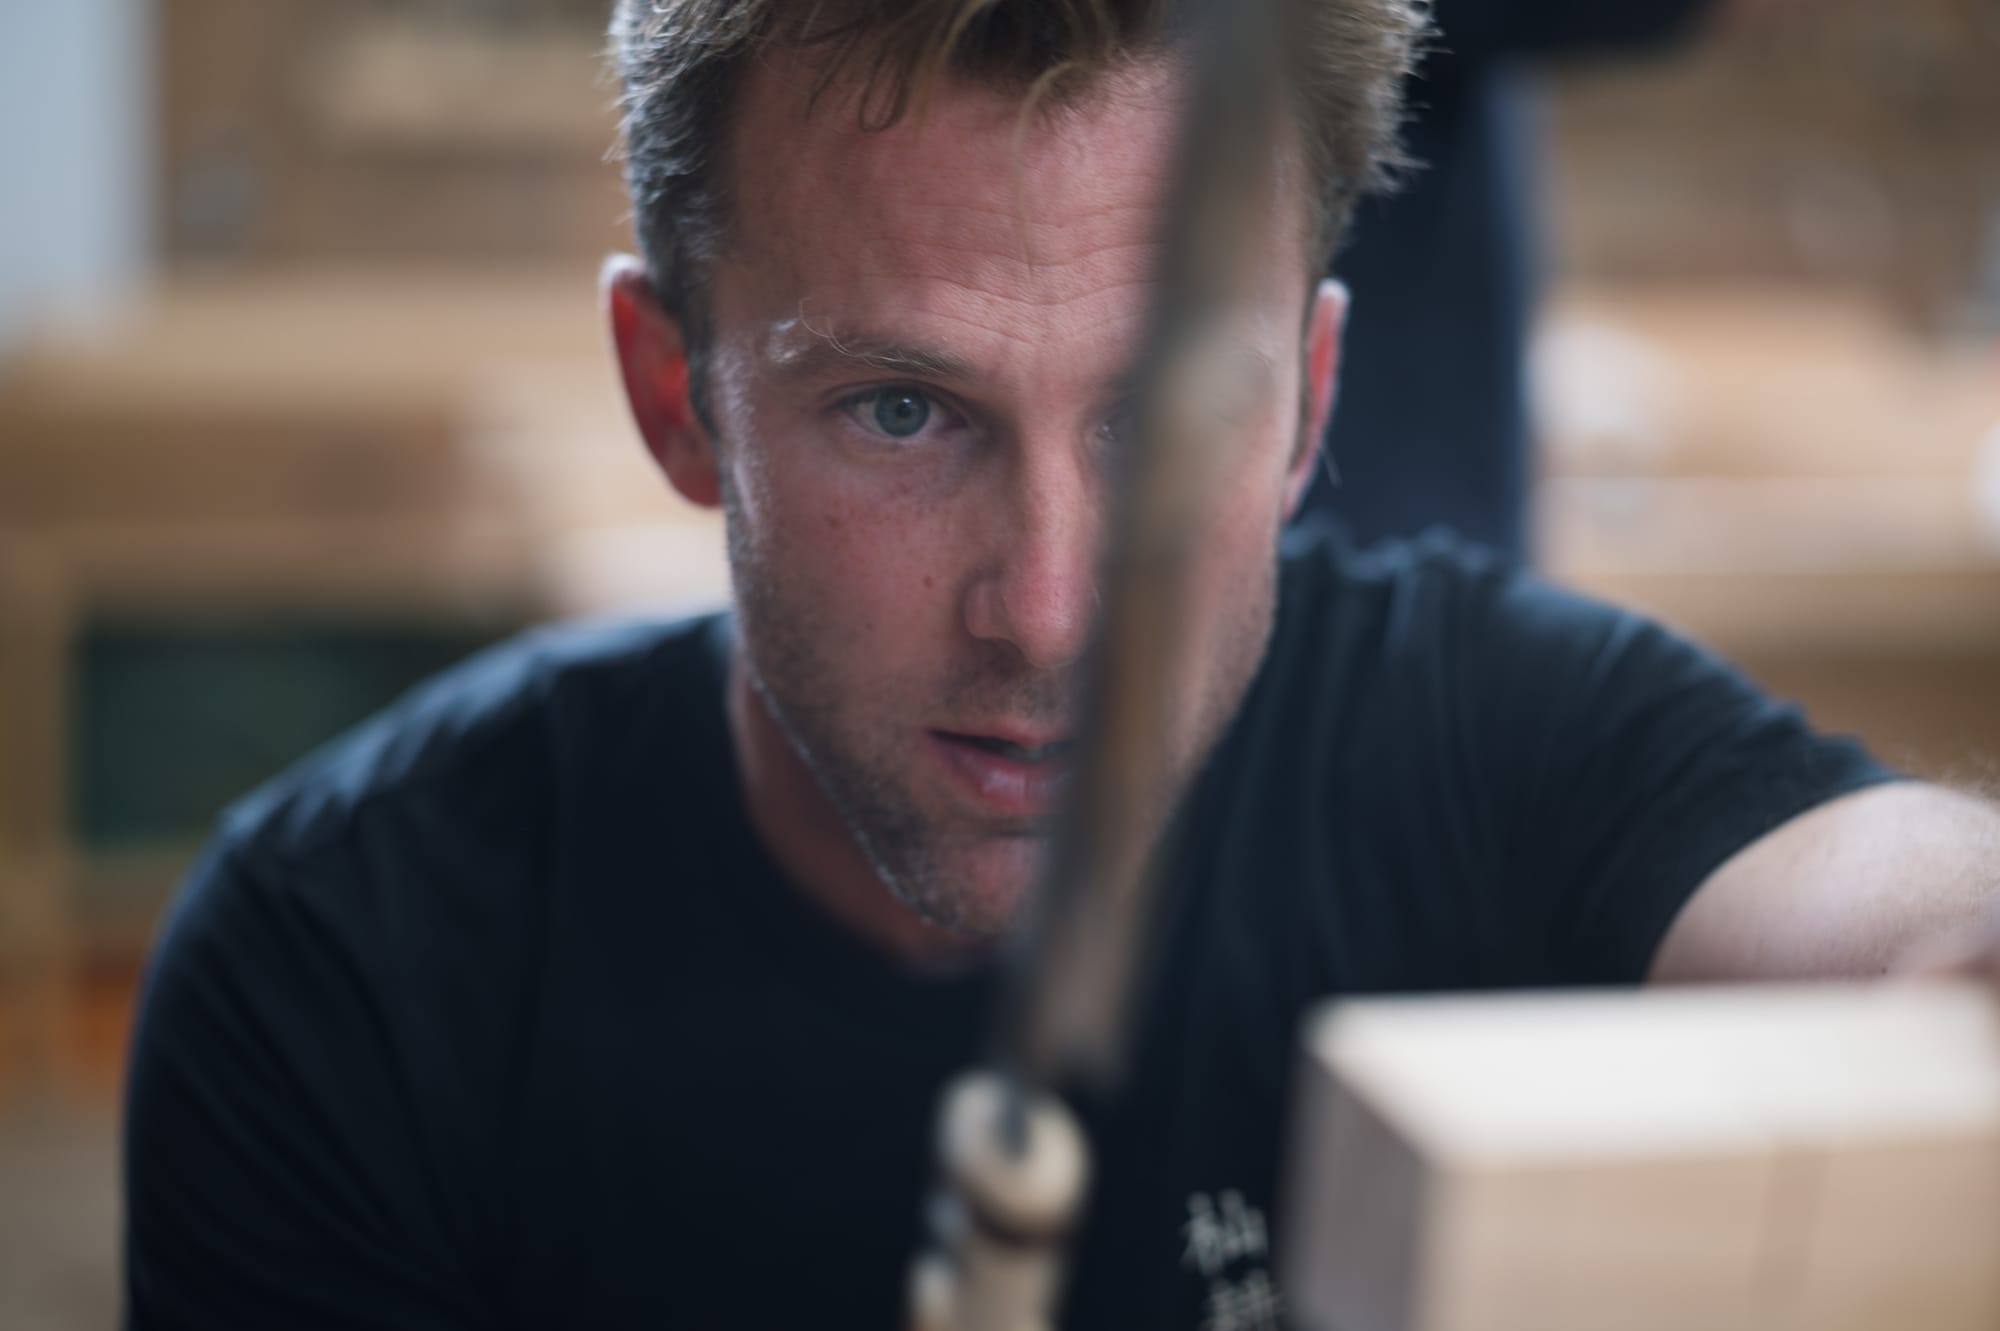
Despite having built and cut joints continuously for many months, I still felt nervous about joining in front of my teachers. I had just come from Mount Fuji Wood Culture Society, working at the delicate scale and pace of sashimono work, so most of my feedback was advice on how to speed up.
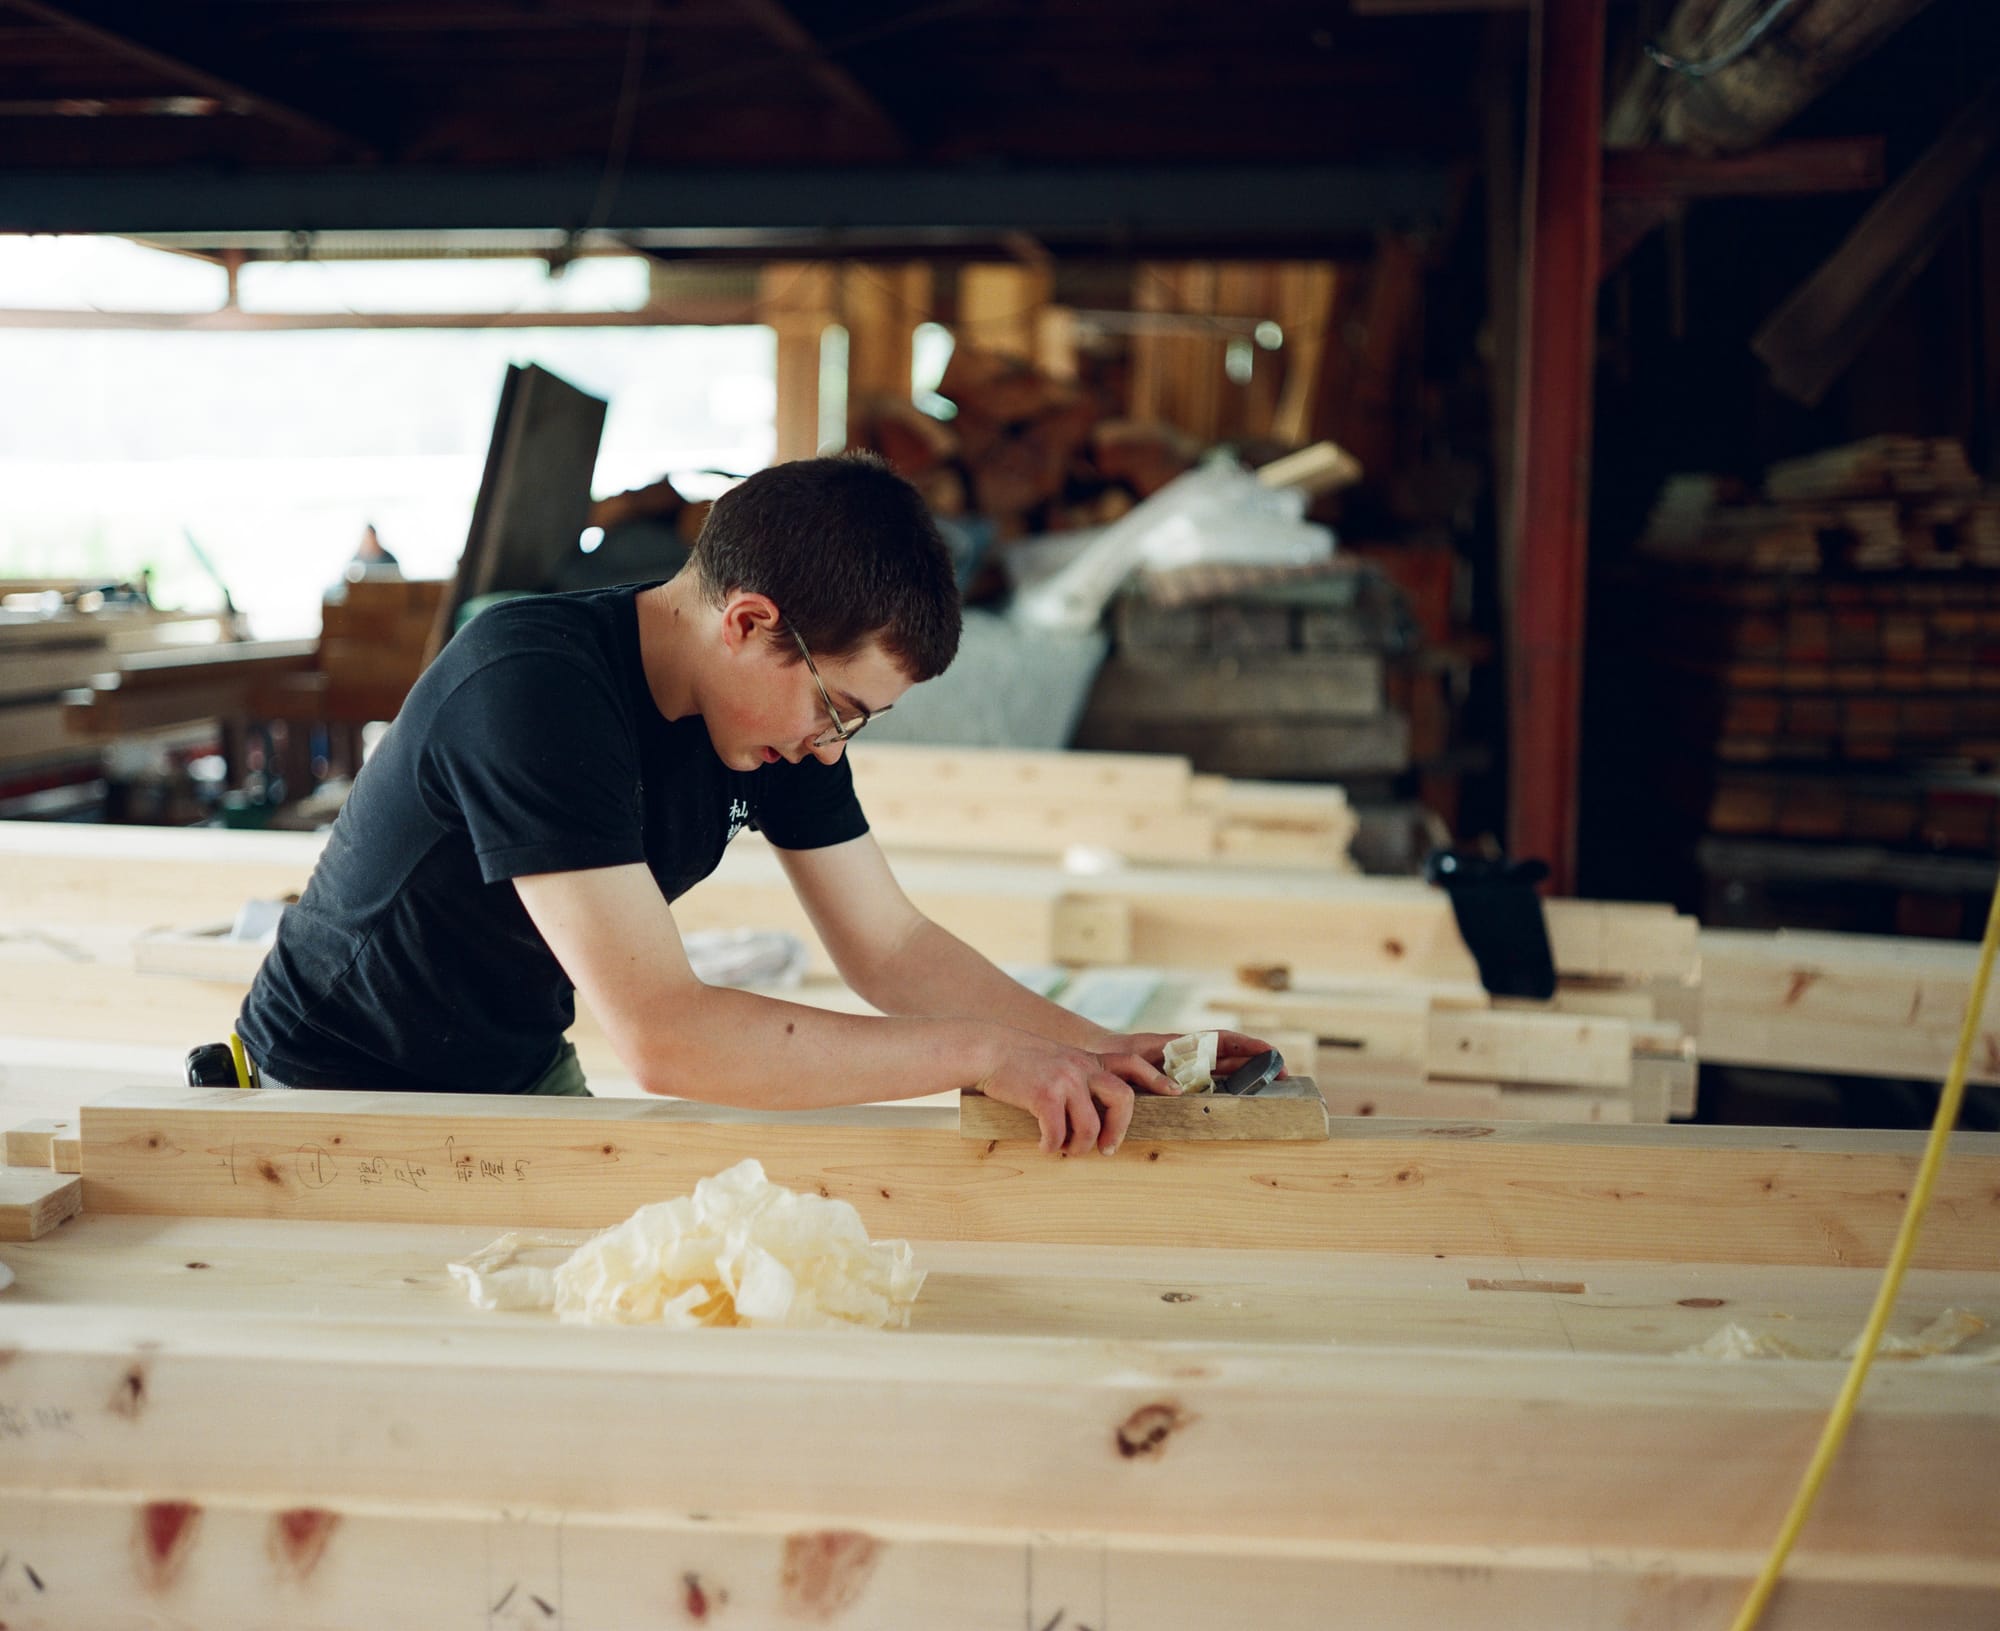
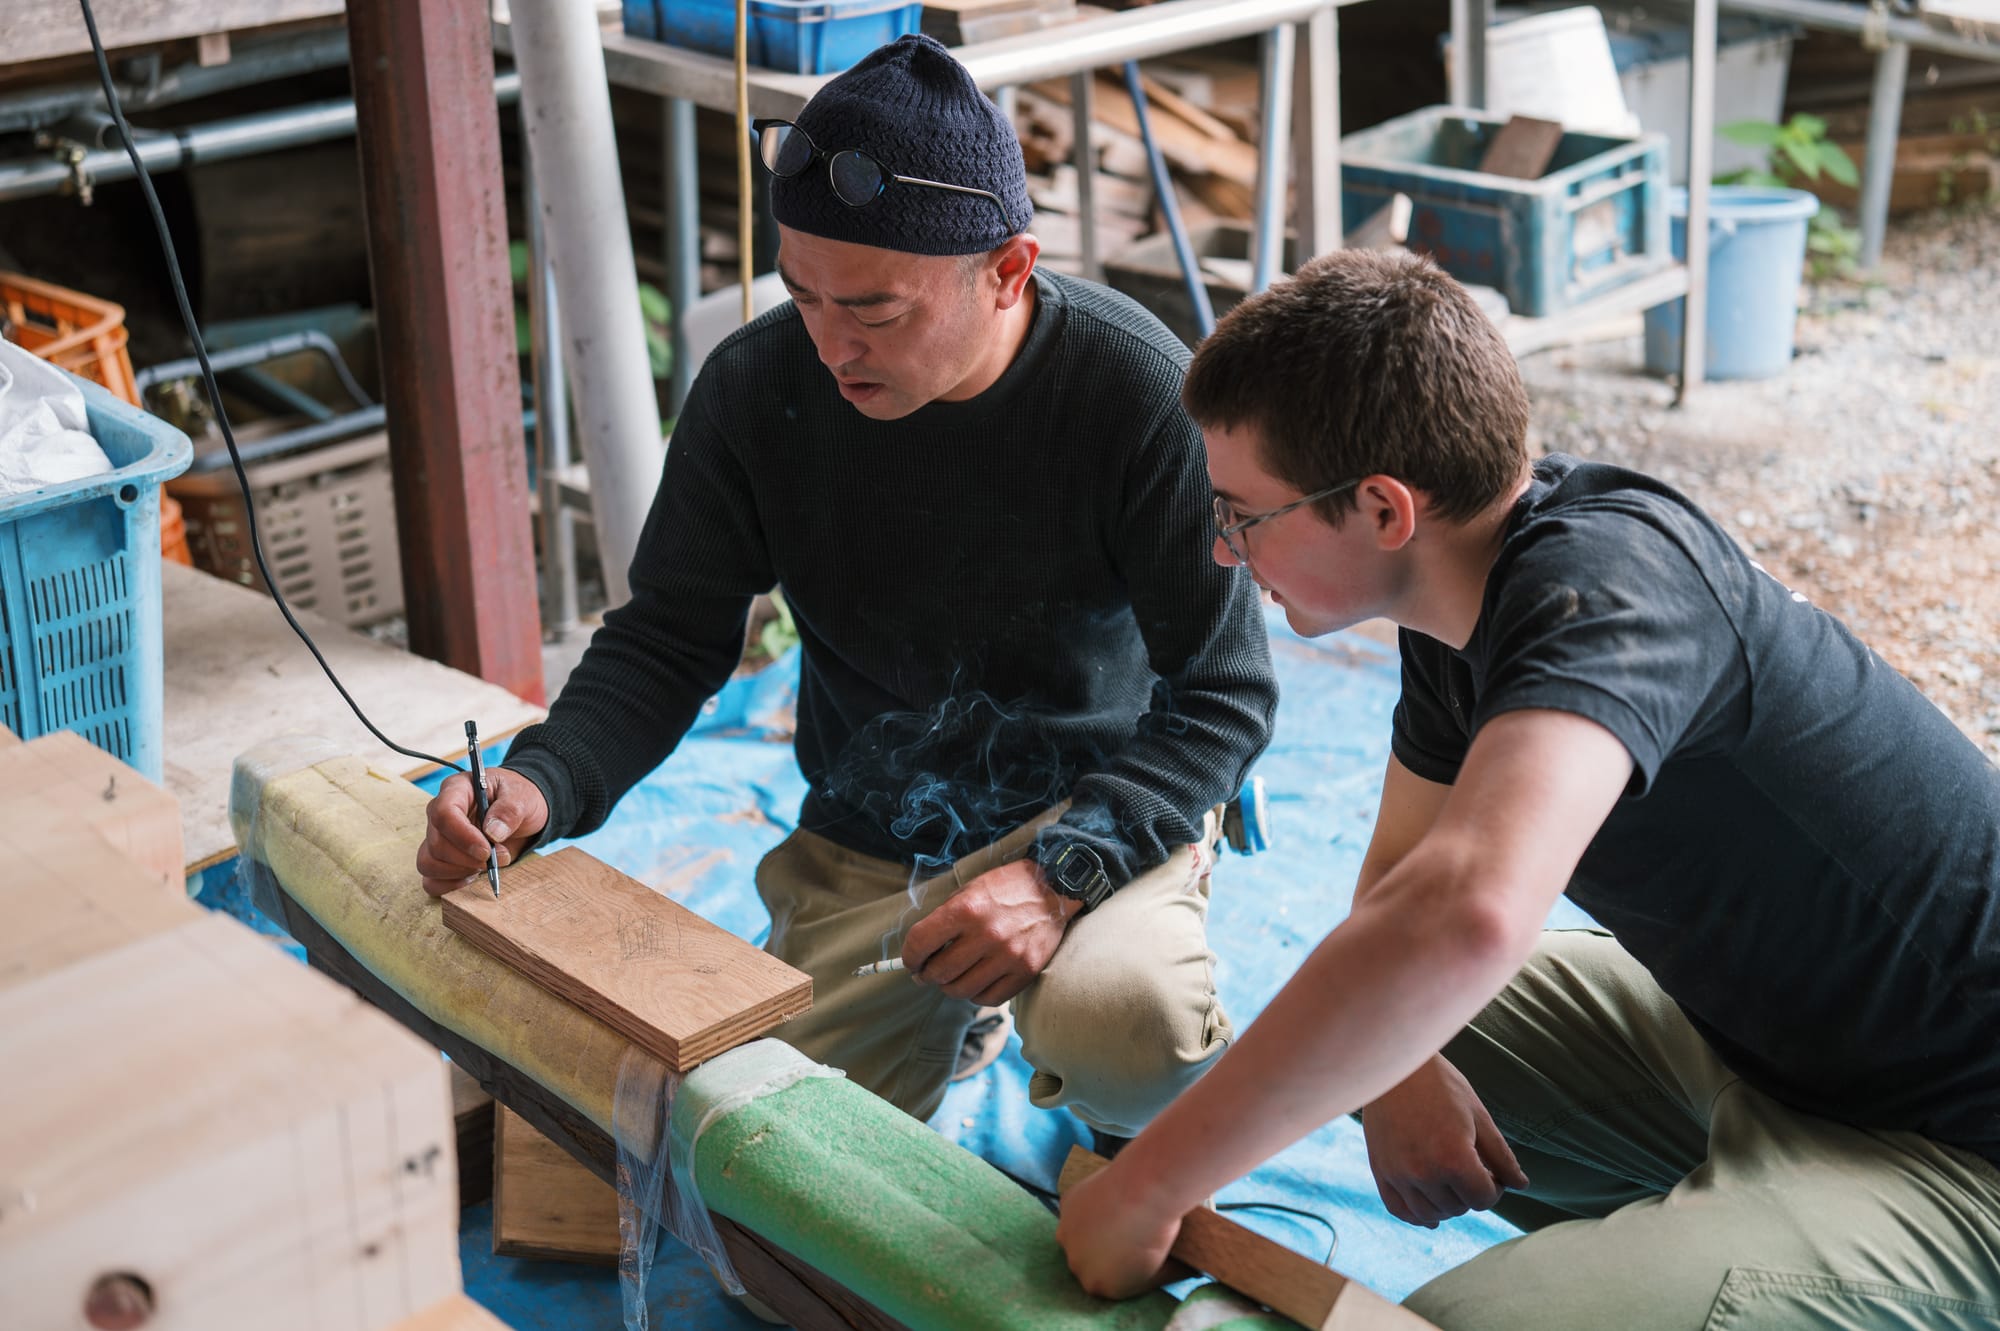
When the project was started, my layout was rough. I built a story stick for the project, but I made enough mistakes in the pole that I had to redraw it several times. Besides triple-checking the layout, what I needed to do to improve came down to a more gentle, sensitive layout. In essence, layout being light allowed for more accuracy, thinner pen lines, shallower knife lines, which made for less effort planing off.
I was also surprised to hear there was such a thing as having too delicate a line. Yama preferred a 0.7mm mechanical pencil, which made sense for the tolerances of a building. A 0.3mm pencil was complicated in that the line is either present or completely obliterated. And even when you split the lines correctly, the tolerances are too tight, so one line must always be omitted entirely. At that point, you lose your reference. So, having a thicker line, to a certain point, makes sense for a certain level of fit.